 3DP Hub
Flow Rate Calibration
Published
Flow ratio determines how much filament is extruded and is crucial for high-quality prints. A properly calibrated flow ratio ensures consistent layer adhesion and accurate dimensions.
Search
Compatibility notes
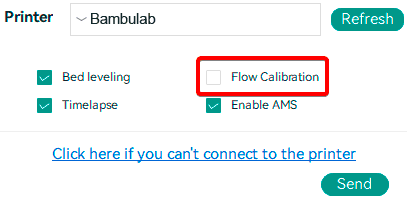
Make sure you do not select the 'Flow calibration' option.
1. Section 1
- Creality Print
- Orca-Flashforge
- Snapmaker Orca
- Helio Additive Edition
- QIDI Studio
- Bambu Studio (Orca is actually a fork of Bambu Studio)
- Sovol 3D Orca
- Pantheon Slicer
- Artillery Orca
2. OrcaSlicer > 2.3.0 Archimedean chords + YOLO (Recommended)
This method uses the Archimedean Chords pattern for flow rate calibration with the YOLO (Recommended) approach.
Select the printer and the filament you want to calibrate. This method is based on the filament's current flow ratio, so make sure you select the correct filament before proceeding.
In the Calibration menu, under the Flow Rate section, select YOLO (Recommended).
A new project with eleven blocks will be created, each with a different flow rate modifier. Slice and print the project.
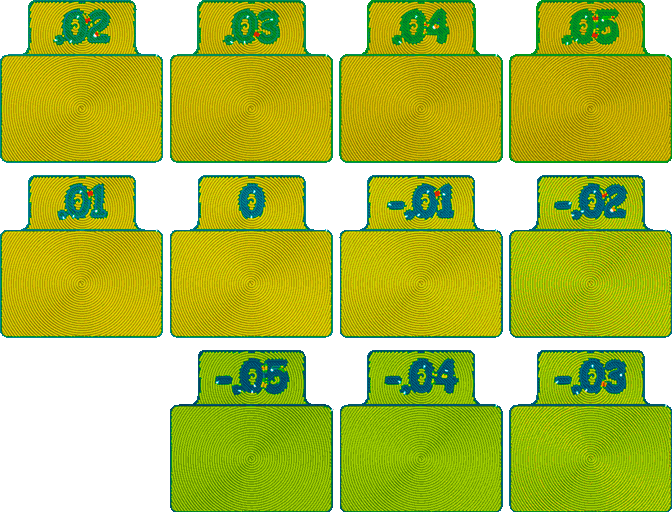
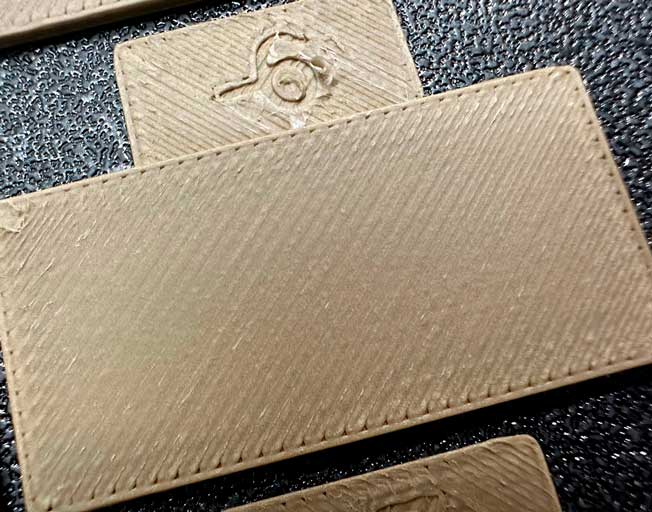
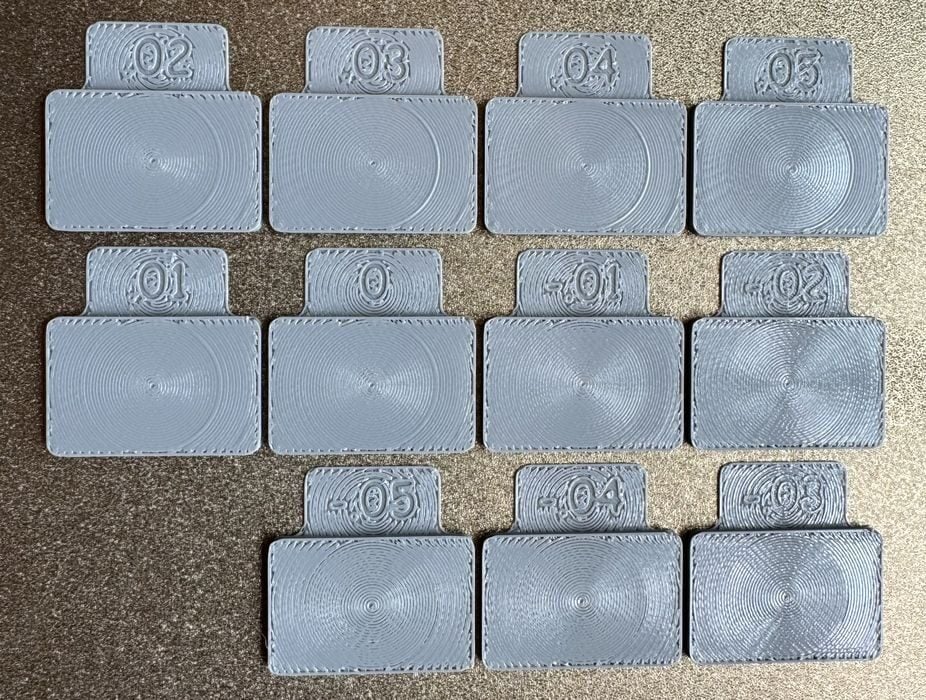
Examine the printed blocks and identify the one with the best surface quality. Look for:
The smoothest top surface.
No visible gaps between the pattern arcs.
Minimal or no visible line between the Inner Spiral and the Outer Arcs.
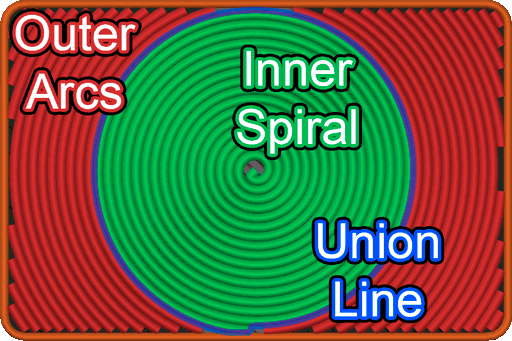
In this example, the block with a flow modifier of +0.01 produced the best results, despite a visible line between the Inner Spiral and the Outer Arcs; reducing the flow further begins to show gaps between the lines.
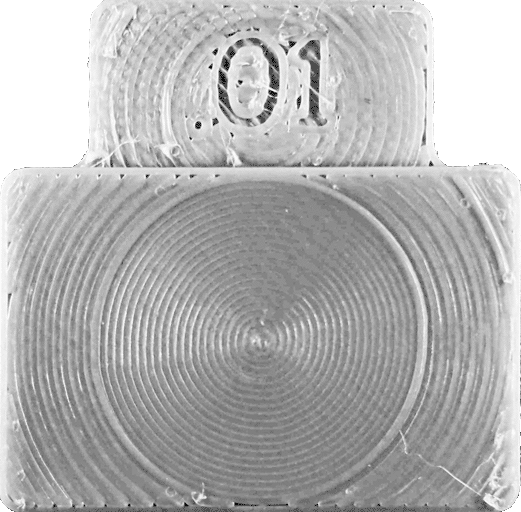
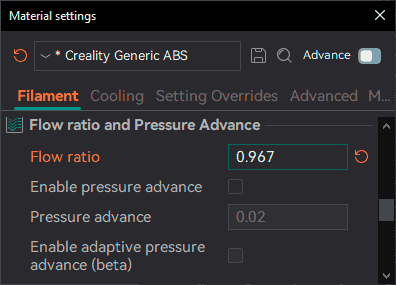
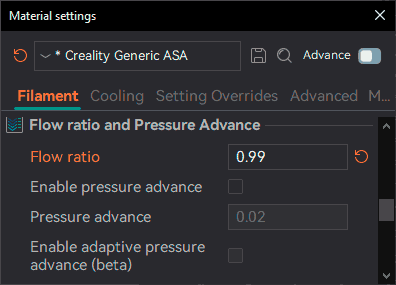
Update the flow ratio in the filament settings using the equation: OldFlowRatio ± modifier. If your previous flow ratio was 0.98 and you selected the block with a flow rate modifier of +0.01, the new value would be: 0.98 + 0.01 = 0.99.
Remember to save the filament profile.
3. OrcaSlicer <= 2.3.0 Monotonic Line + 2-Pass Calibration
This example uses the Monotonic Line pattern with the 2-Pass Calibration approach.
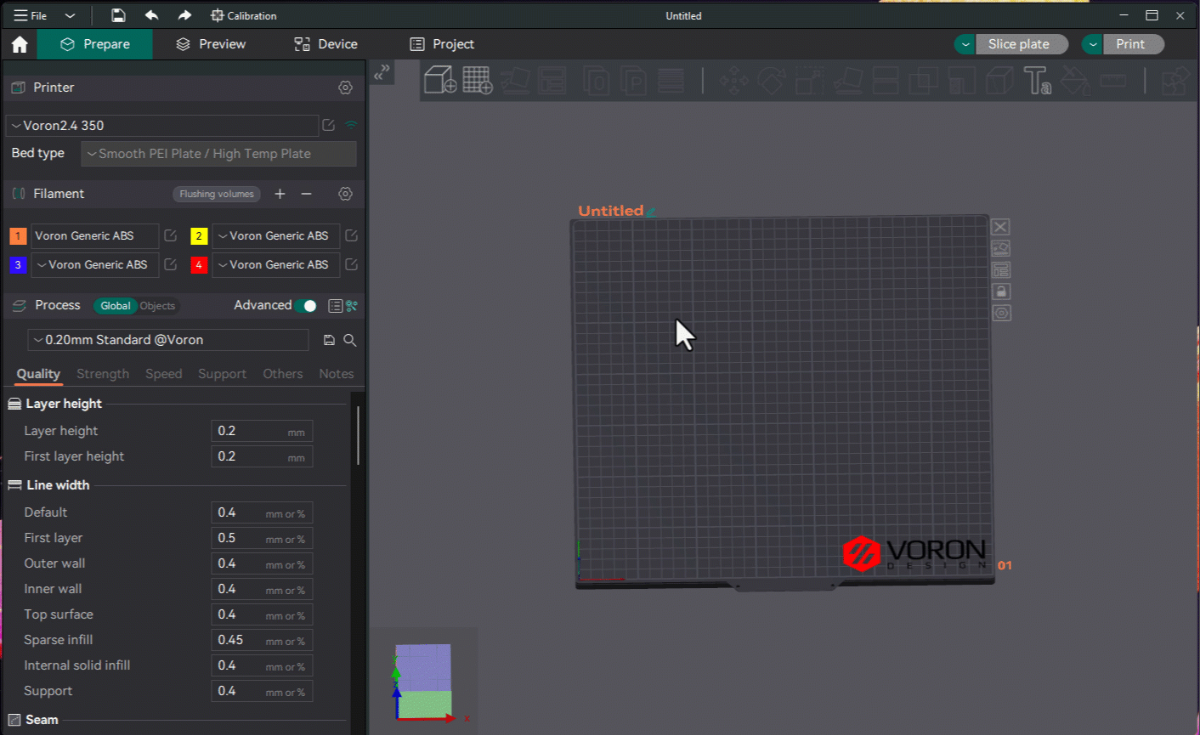
Select the printer, filament, and process you want to use for the test.
In the Calibration menu, under the Flow Rate section, select Pass 1.
A new project with nine blocks will be created, each with a different flow rate modifier. Slice and print the project.
Examine the blocks and determine which one has the smoothest top surface.
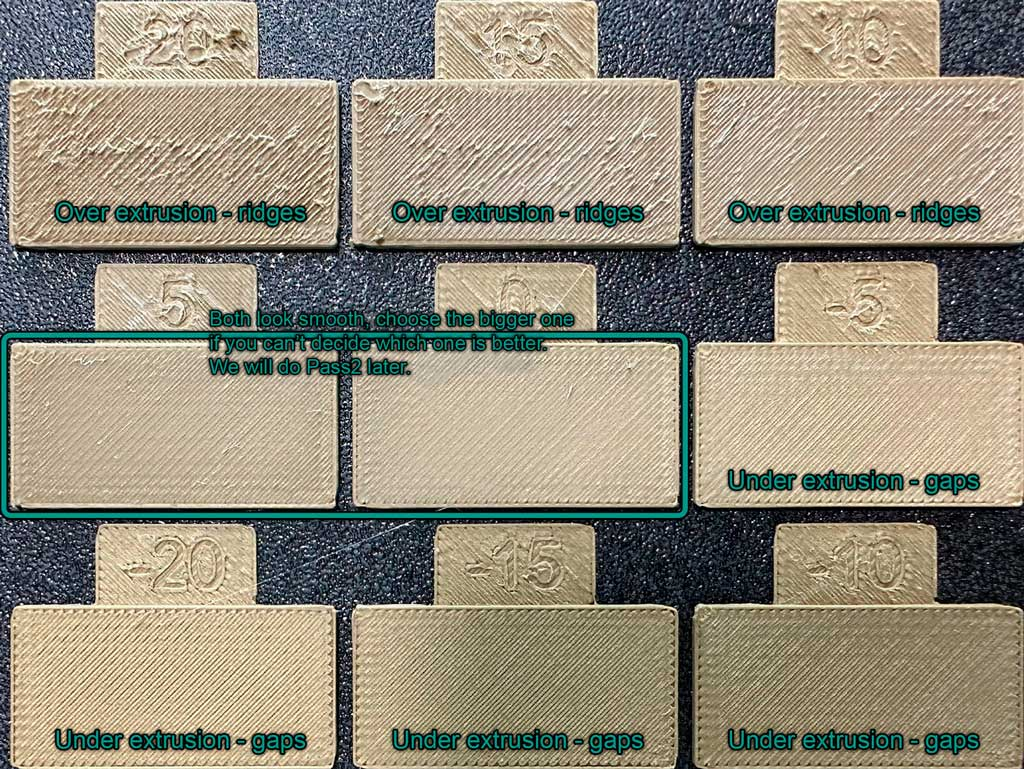
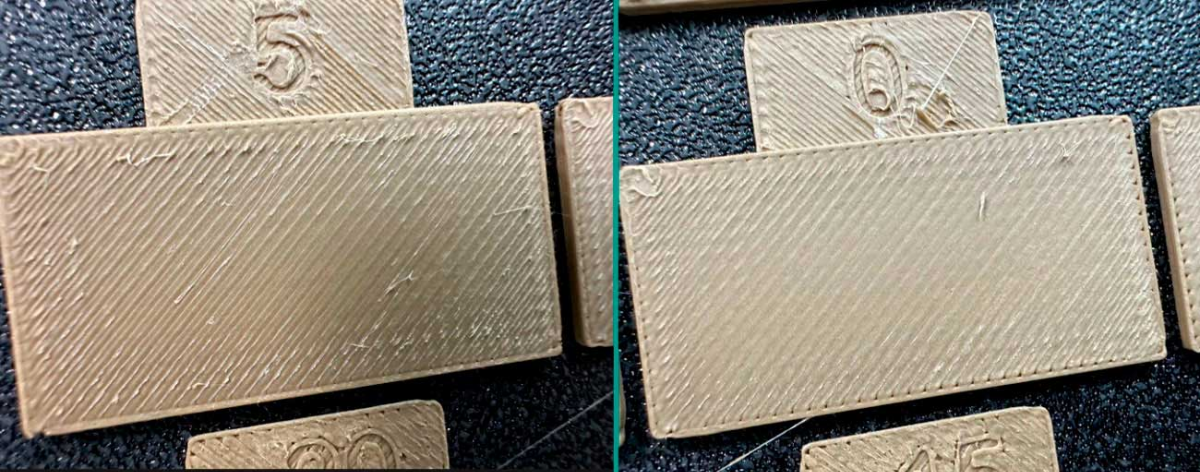
Update the flow ratio in the filament settings using the equation: OldFlowRatio * (100 + modifier) / 100. For example, if your previous flow ratio was 0.98 and you selected the block with a flow rate modifier of +5, the new value would be: 0.98 × (100 + 5) / 100 = 1.029. Remember to save the filament profile.
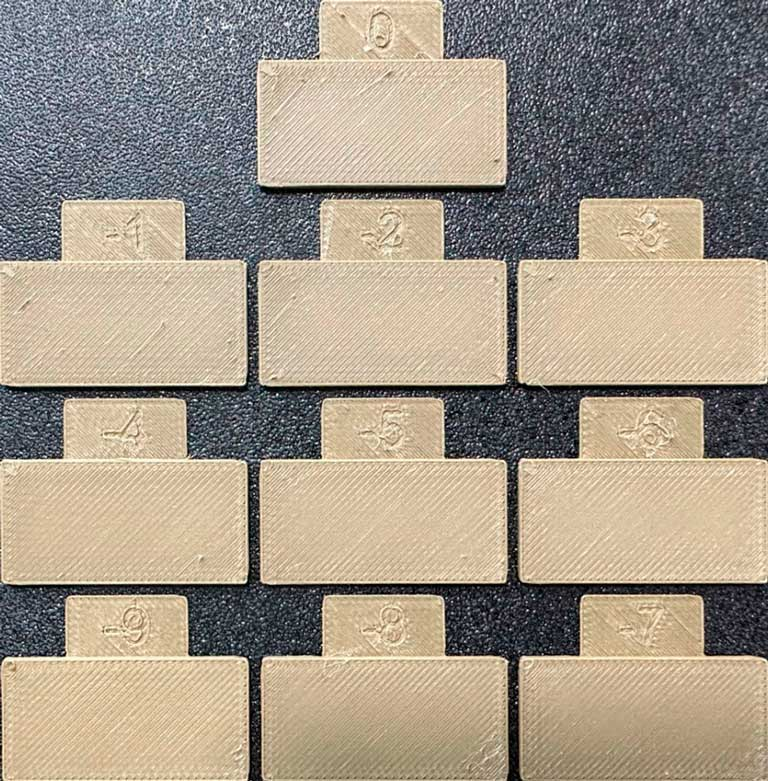
Perform the Pass 2 calibration. This process is similar to Pass 1, but a new project with ten blocks will be generated. The flow rate modifiers for this project will range from -9 to 0.
Repeat steps 4 and 5. For example, if your previous flow ratio was 1.029 and you selected the block with a flow rate modifier of -6, the new value would be: 1.029 × (100 - 6) / 100 = 0.96726. Remember to save the filament profile.