 3DP Hub
Pressure Advance Tower Calibration
Published
Pressure Advance calibration helps compensate for the lag in extrusion pressure that occurs when the print head changes speed, particularly on edges and corners.

Search
Compatibility notes

1. Introduction
OrcaSlicer includes three approaches for calibrating the Pressure Advance value. Each method has its own advantages and disadvantages. It is important to note that each method has two versions: one for a direct-drive extruder and one for a Bowden extruder. Make sure to select the appropriate version for your test.
You can use different methods to calibrate the Pressure Advance value, each with its own advantages and disadvantages.
If you have a high speed printer, consider using the Adaptive Pressure Advance method for more accurate results.
2. Slicer Compatibility
- Creality Print
- Orca-Flashforge
- Snapmaker Orca
- Helio Additive Edition
- QIDI Studio
- Bambu Studio (Orca is actually a fork of Bambu Studio)
- Sovol 3D Orca
- Pantheon Slicer
- Artillery Orca
3. Tower Method
The tower method may take a bit more time to complete, but it does not rely on the quality of the first layer.
Select the printer, filament, and process you would like to use for the test.
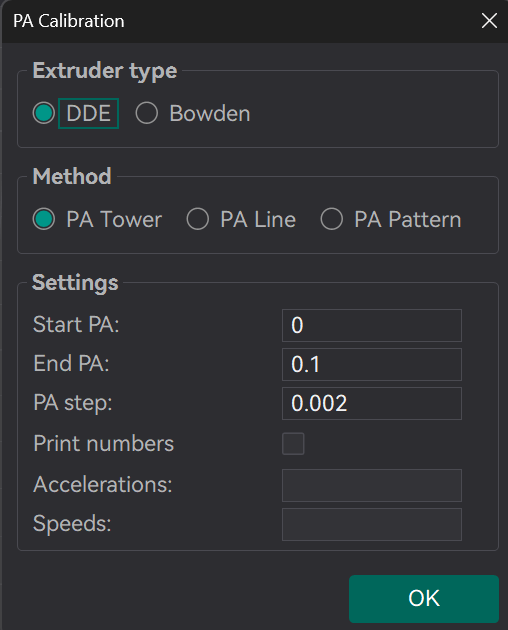
Choose Pressure Advance from the Calibration menu at the top of the screen.
Input the Start PA and PA step values into the calculator, press OK and start the print
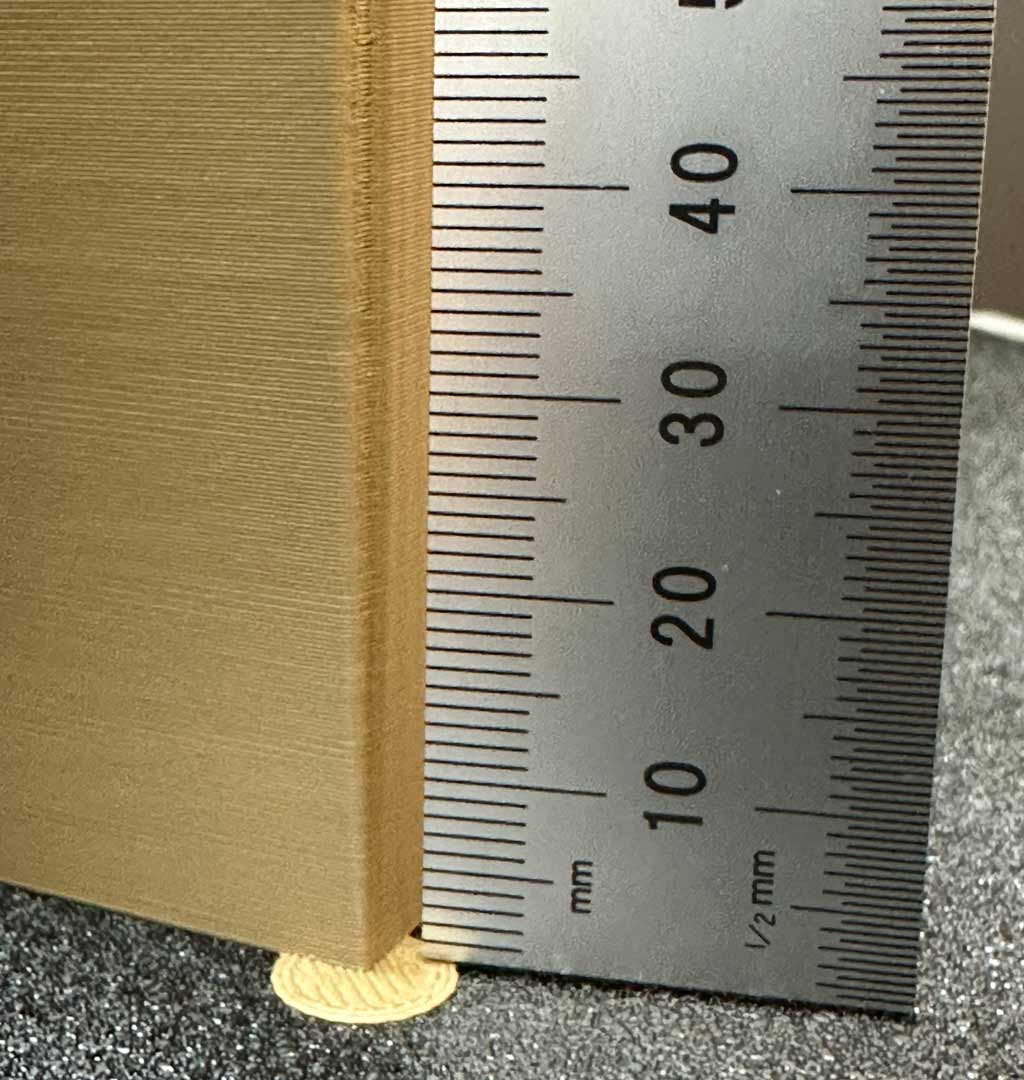
Examine each corner of the print and mark the height that yields the best overall result.
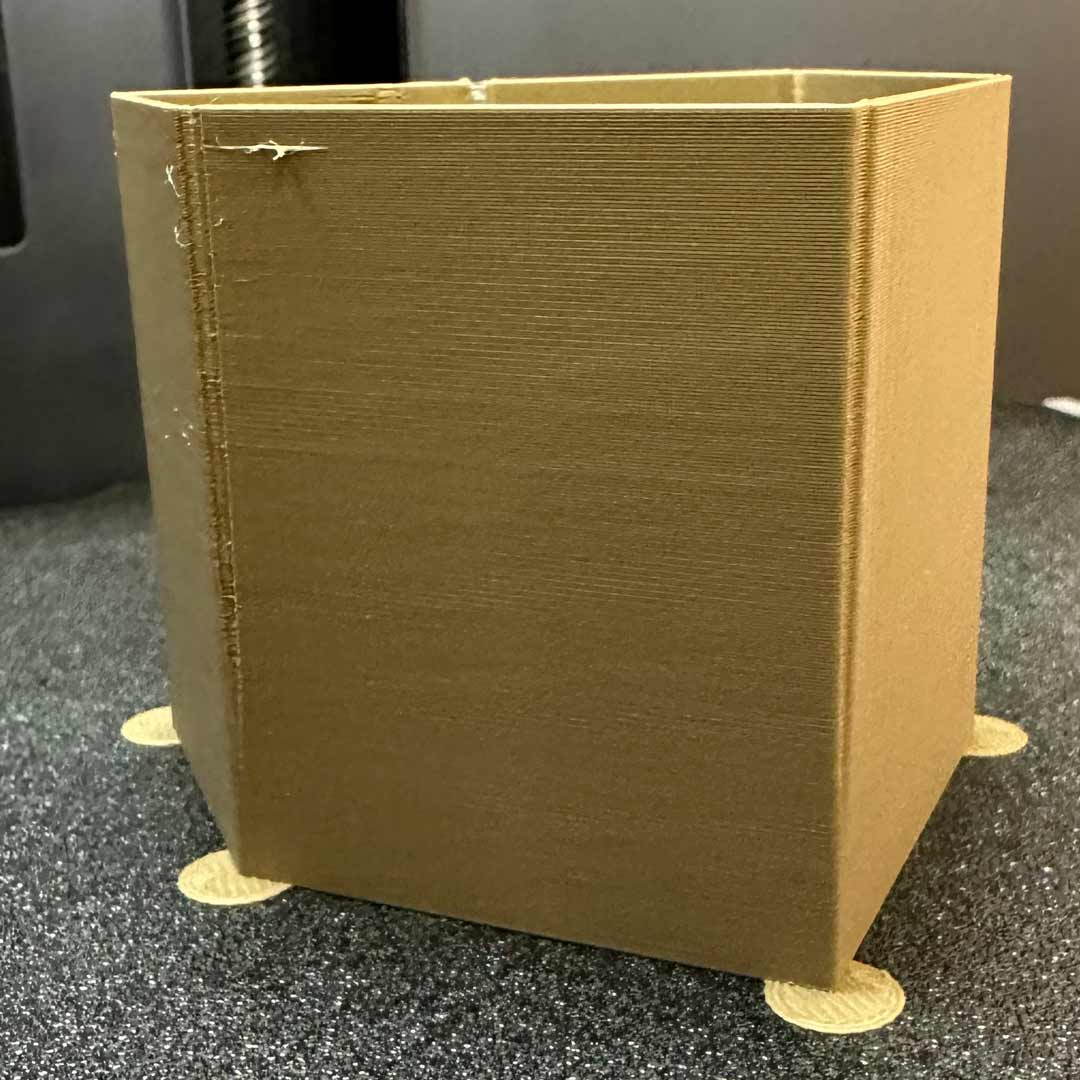
In this example a height of 8 mm was selected. Input the height into the calculator to find your optimal pressure advance value.
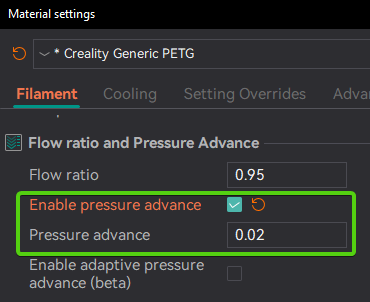
Update the filament profile with your new pressure advance value and SAVE it.