 3DP Hub
Wifi Antenna Upgrade
Published
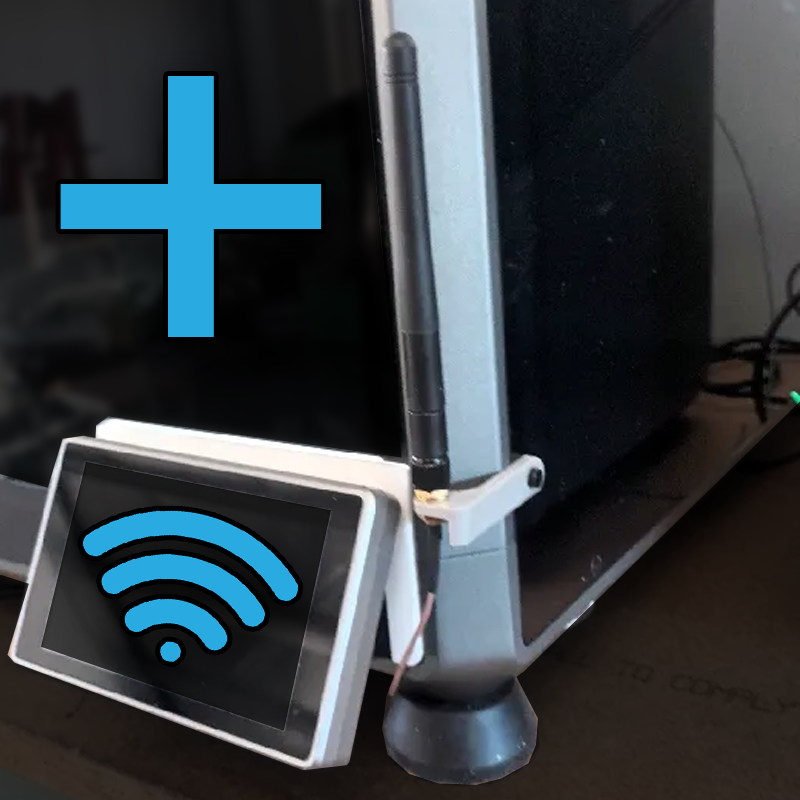
Tired of your K1 Max dropping Wi-Fi like it’s 1999? This is a simple but powerful external antenna mod that massively improves your wireless reception. Mounts a U.FL to RP-SMA cable and external antenna directly onto the printer’s chassis.
Search
Bill of materials
| Qty | Item | Links | |
|---|---|---|---|
| 1 | 8dBi WiFi Antenna | ||
| 1 | Group 1 Option B:RPSMA-K to U.FL Cable |
Electrical safety
This project requires handling of electrical components. Always disconnect the printer from mains power before starting any electrical work. Wait several minutes to allow capacitors to discharge. Use an ESD mat and wrist strap to prevent static damage to components. Ensure wires are properly insulated and double-check connections for shorts before powering on. Avoid touching PCB components with bare hands and use ESD-safe tools.
Printed parts
This project uses a 3D printed antenna mount.
The 3DPHUB antenna mount brings the antenna lower with an additional mounting point. This provides extra rigidity and allows you to use a 15cm or longer cable without drilling a hole.
1. Mainboard Access
Shut down the printer and disconnect the power.
Lay the machine on its left side
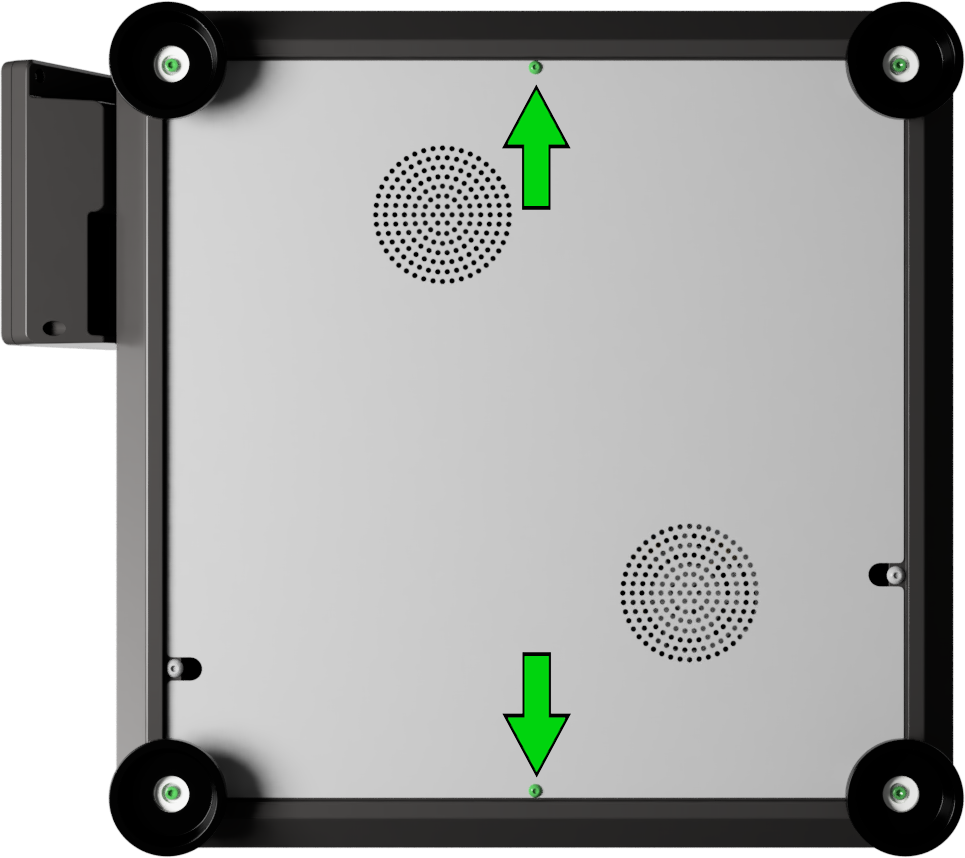
Remove the two M3x6 screws securing the cover
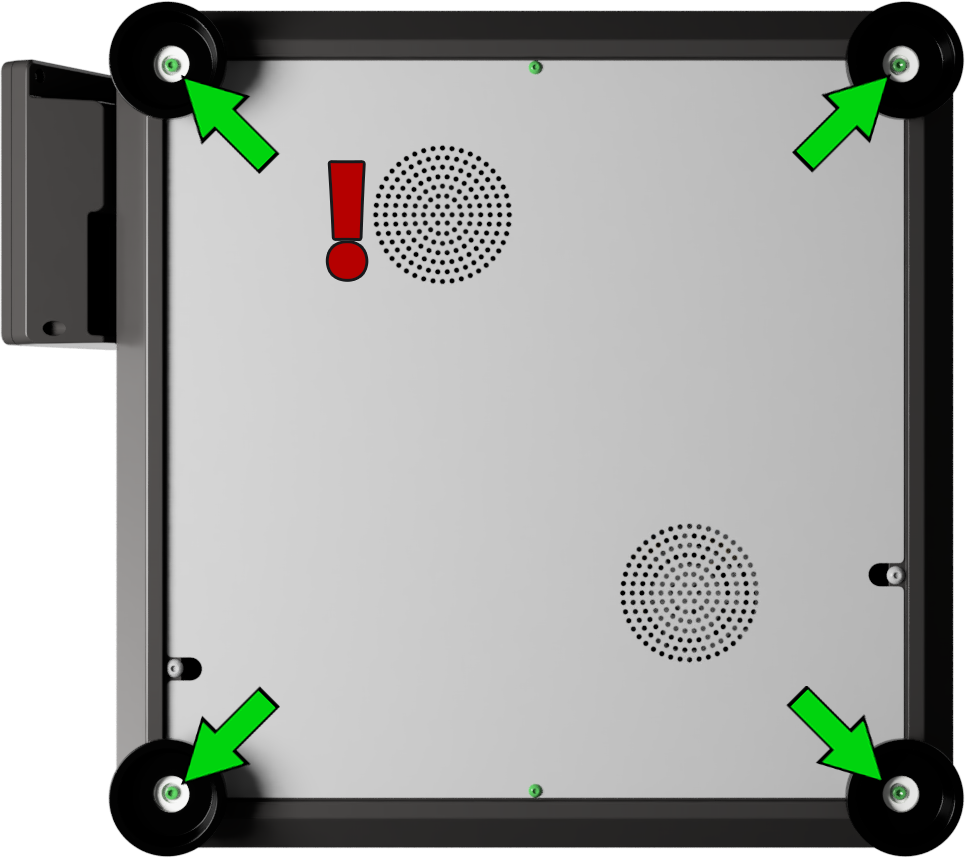
Remove the four M3x10 screws holding the feet to the base
2. Installation
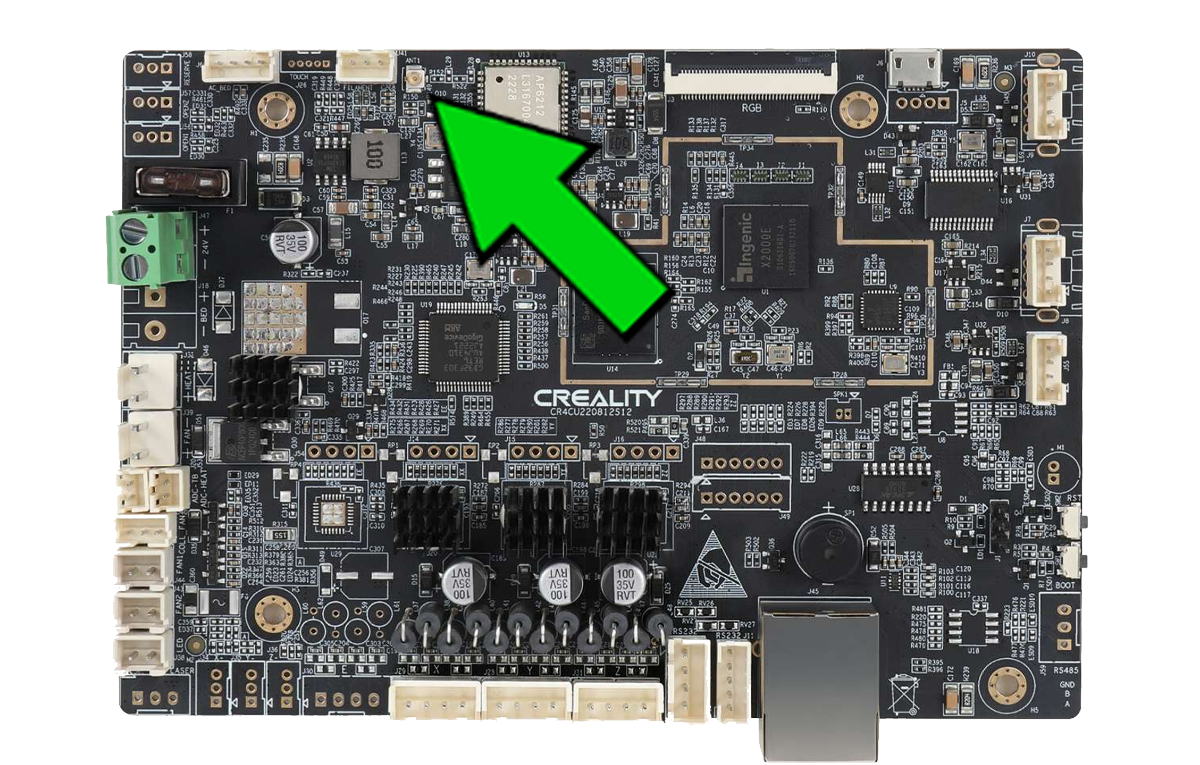
Unclip the original antenna from the Wi-Fi chip, identified with the ANT1 marking. It’s just a pressure clip - look at your new cable if you’re unsure. Use gentle force.
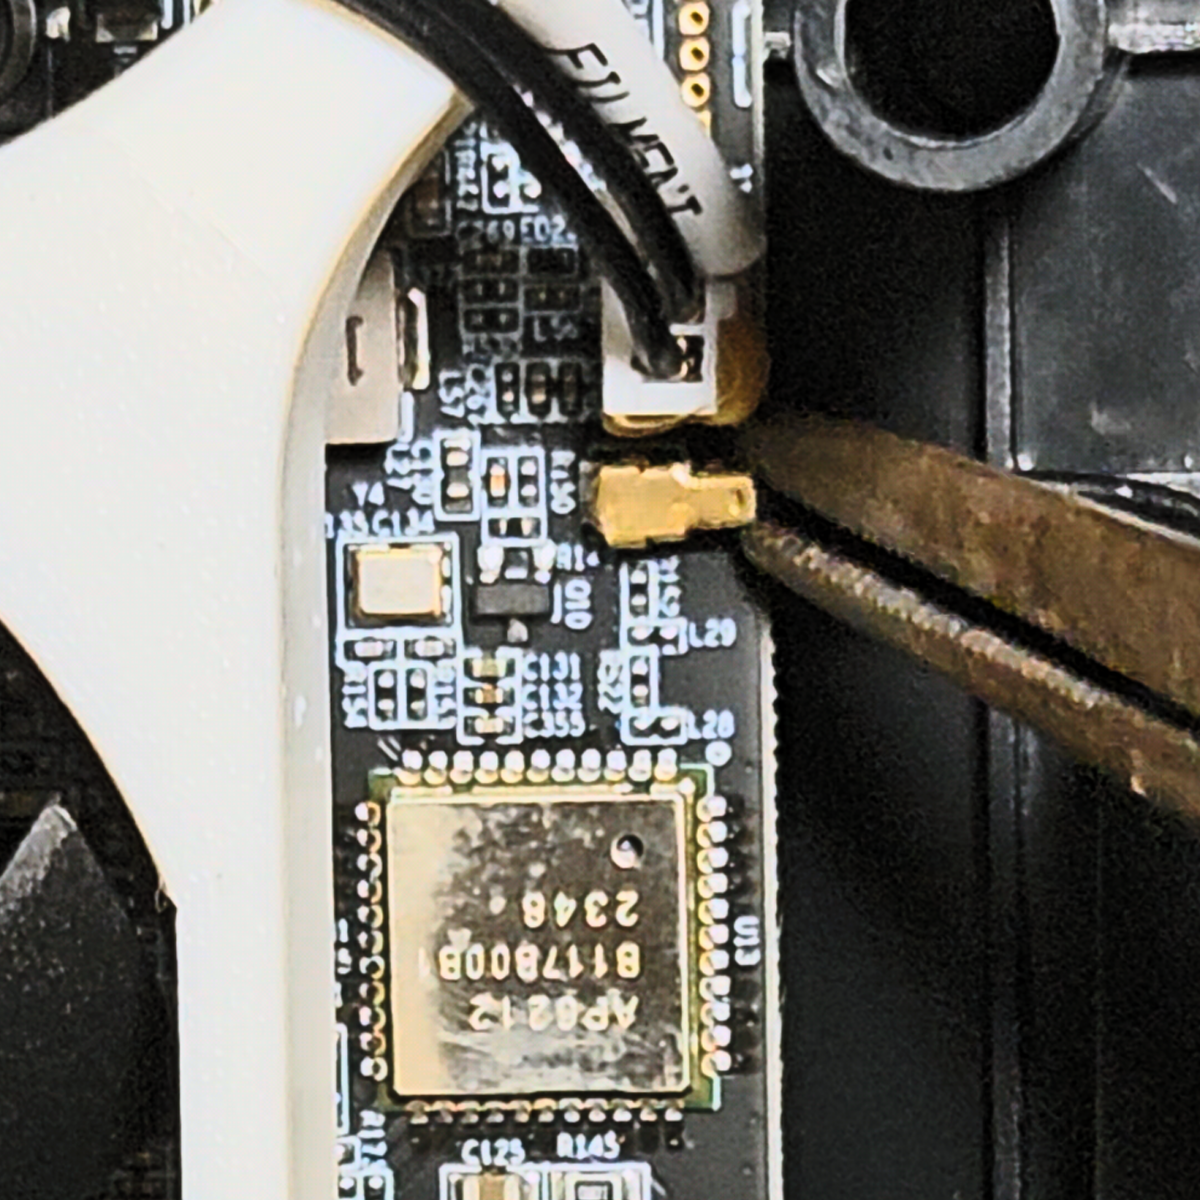
Zip-tie the old antenna out of the way.
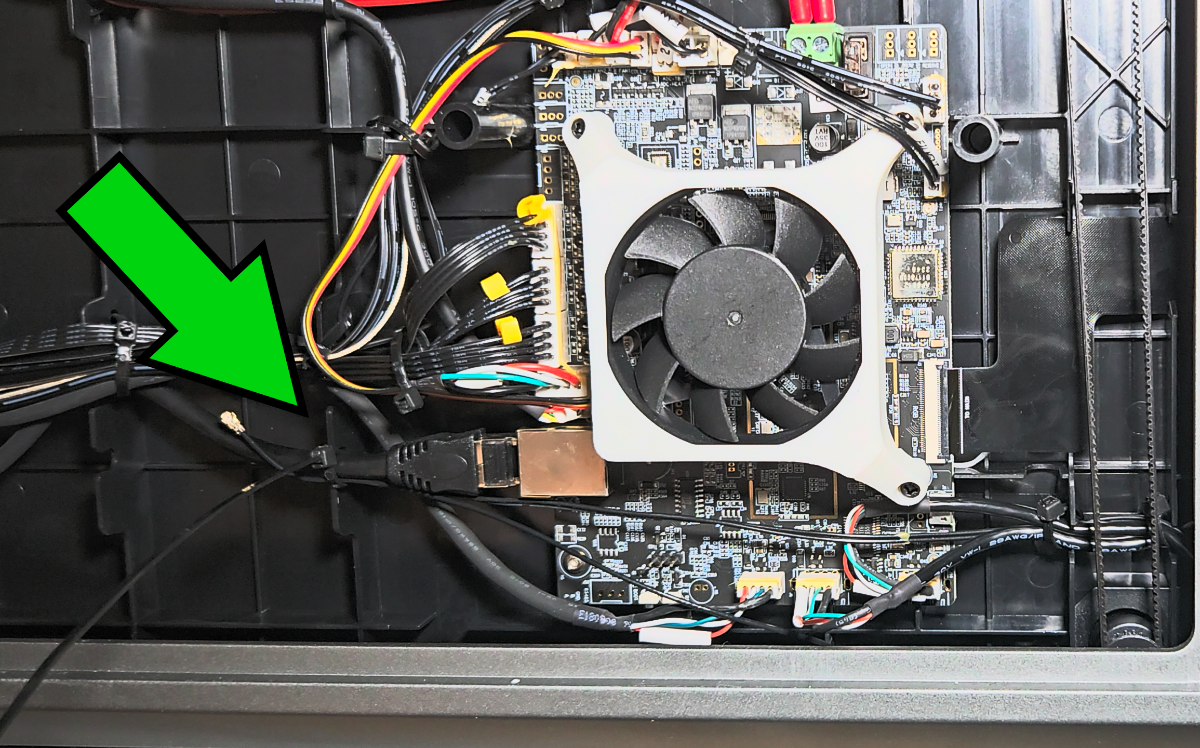
Drill a small hole in the bottom cover, toward the front right corner if you are using the Bob Meade Mount. Make sure the new cable reaches and won’t catch on belts, pulleys, or wiring.
If you are using the 3DPHUB mount, you do not need to drill. Simply route the cable behind the screen and ribbon cable.
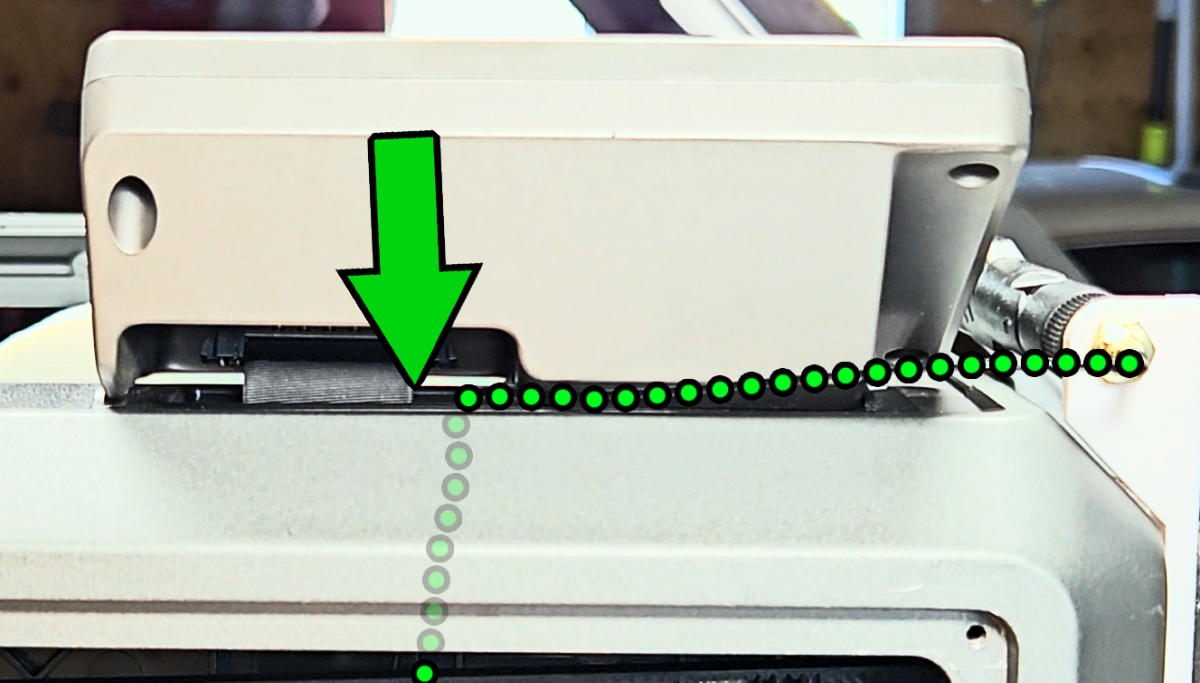
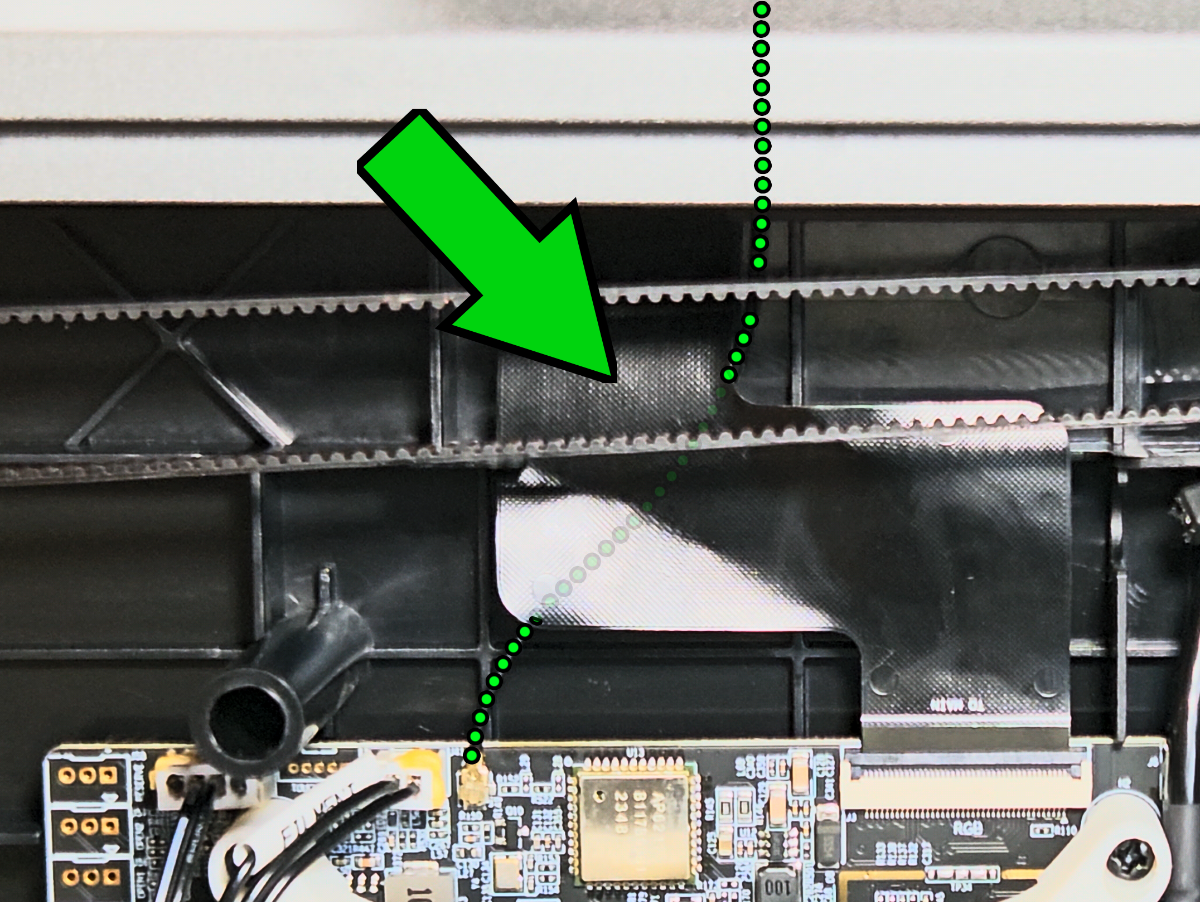
Remove the stock M3 bolt from the side cover.
Install the bracket using your longer M3 screw (two if using the 3DPHUB mount)
Feed the RP-SMA connector through the bracket, reinstall the nut and washer and tighten it.